Configure SAML 2.0 Front-Channel Logout
This page guides you through configuring SAML 2.0 front-channel logout for applications with MWARE IAM. This will ensure that the user is logged out from all configured applications with a single logout request via one of the applications.
Scenario
The user is required to log in to two different applications, application1 and application2. For convenience and security, the user should be logged out of both the applications when the user attempts to logout from either one of them.
Register two applications in MWARE IAM
To register your application as a service provider in the MWARE IAM:
-
Log in to the MWARE IAM Management Console using administrator credentials.
-
Go to Main > Identity > Service Providers > Add.
-
Enter a Service Provider Name. Optionally, enter a Description.
-
Click Register.
-
Expand Inbound Authentication Configuration > SAML2 Web SSO Configuration and click Configure.
-
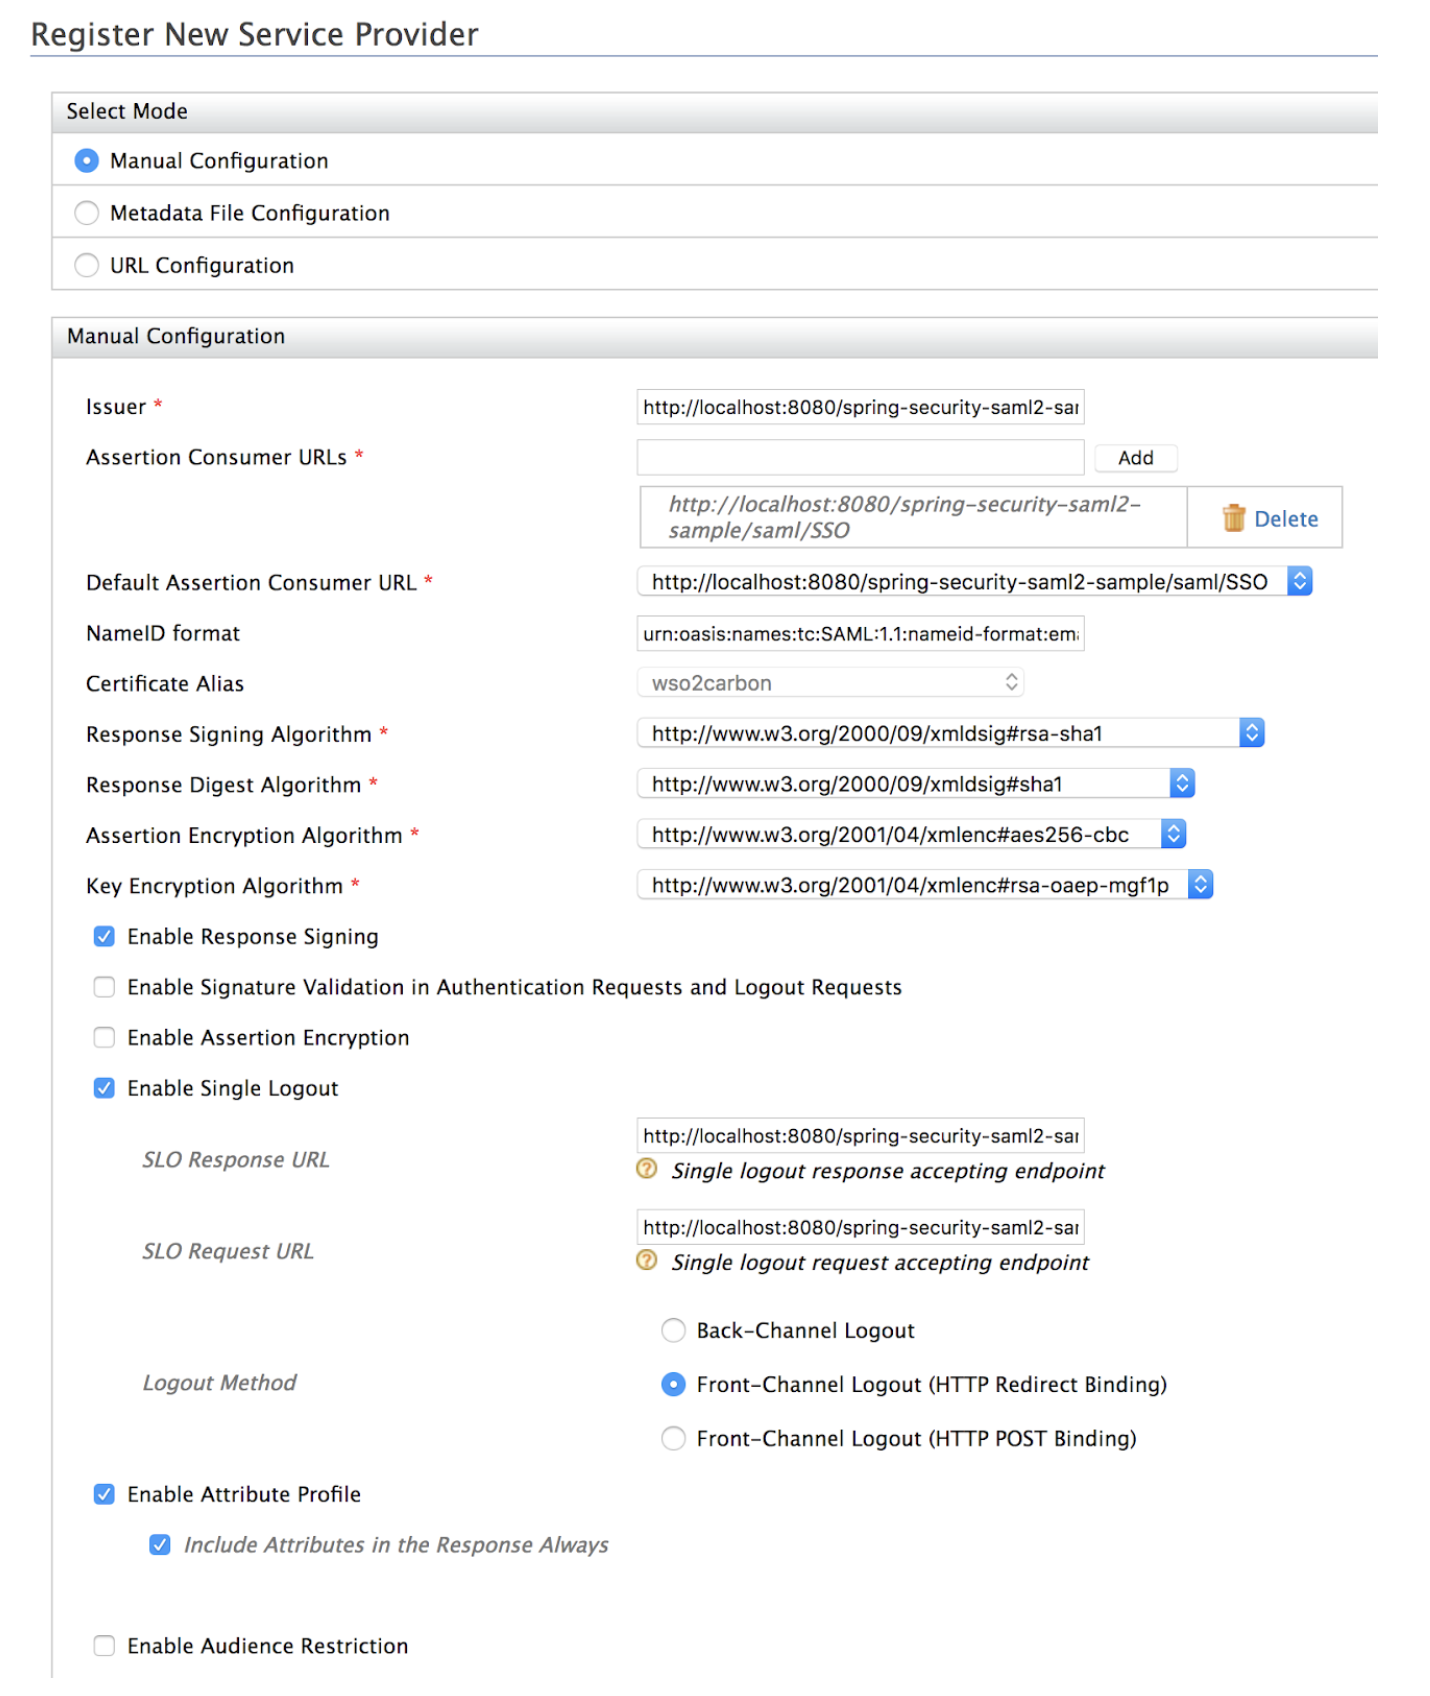
Add the following configurations and click Register.
- Issuer:
http://localhost:8080/spring-security-saml2-sample/saml/metadata - Assertion Consumer URLs:
http://localhost:8080/spring-security-saml2-sample/saml/SSO - Select Enable Response Signing.
- Untick Enable Signature Validation in Authentication Requests and Logout Requests.
- Select Enable Single Logout.
- SLO Response URL:
http://localhost:8080/spring-security-saml2-sample/saml/SingleLogout - SLO Request URL:
http://localhost:8080/spring-security-saml2-sample/saml/SingleLogout - Logout Method: Select Front-Channel Logout (HTTP Redirect Binding) or Front-Channel Logout (HTTP POST Binding)
- Select Enable Attribute Profile.
- Select Include Attributes in the Response Always.
- Issuer:
-
Follow the same steps and change the values for sample2 and register another service provider.
SAML Configurations
Make the following changes to the created service provider.
-
Expand Inbound Authentication Configuration > SAML2 Web SSO Configuration and click Configure.
-
Enter the Issuer.
Info
The Issuer is the unique identifier of the service provider. This is also the issuer value specified in the SAML Authentication Request issued by the service provider.
-
Enter the Assertion Consumer URL and click Add.
Info
The Assertion Consumer URL is the Assertion Consumer Service (ACS) URL of the service provider. This URL should be the URL of the page to which the browser is redirected to after successful authentication.
-
Select Enable Single Logout. Enter the SLO Response URL and SLO Request URL.
-
Select Front-Channel Logout (HTTP Redirect Binding) or Front-Channel Logout (HTTP POST Binding) as the Logout Method.
-
Click Register.
Tip
To configure more advanced configurations, see Advanced SAML Configurations.
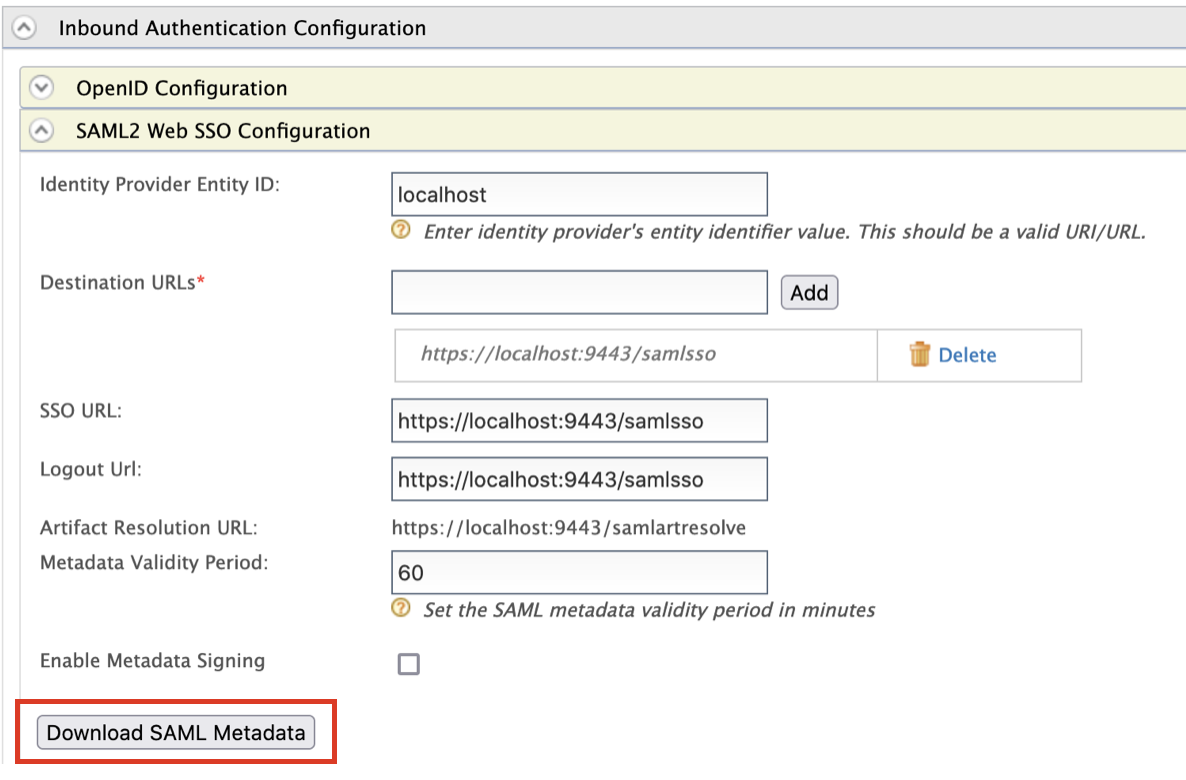
Download the SAML metadata file
-
Access the MWARE IAM Management Console (
https://<IS_HOST>:<PORT>/carbon). -
Navigate to Main > Identity Providers > Resident Identity Provider.
-
Expand the Inbound Authentication Configuration section.
-
Select SAML2 Web SSO Configuration and Download SAML Metadata.
Try it
Configure the sample
- Download the latest version of the Spring SAML application from here and unzip it. This unzipped directory will be referred to as
<SAMPLE_HOME>. - Copy the downloaded SAML metadata file to
<SAMPLE_HOME>/sample/src/main/resources/metadata. - Open the
<SAMPLE_HOME>/sample/src/main/webapp/WEB-INF/securityContext.xmlfile. - Search for bean id with the tag as metadata (
bean id=”metadata”). -
Under the
listtag of themetadata bean id, add the following xml configuration and save the file. Note that this has the link tometadata.xml, which we downloaded.<bean class="org.springframework.security.saml.metadata.ExtendedMetadataDelegate"> <constructor-arg> <bean class="org.opensaml.saml2.metadata.provider.ResourceBackedMetadataProvider"> <constructor-arg> <bean class="java.util.Timer" /> </constructor-arg> <constructor-arg> <bean class="org.opensaml.util.resource.ClasspathResource"> <constructor-arg value="/metadata/metadata.xml" /> </bean> </constructor-arg> <property name="parserPool" ref="parserPool" /> </bean> </constructor-arg> <constructor-arg> <bean class="org.springframework.security.saml.metadata.ExtendedMetadata" /> </constructor-arg> </bean>
Deploy the sample
-
Open a terminal from the
<SAMPLE_HOME>/samplelocation and run the following command.
2. Once the sample has built successfully, themvn clean installspring-security-saml2-sample.warfile can be found in the<SAMPLE_HOME>/sample/targetdirectory. -
Make a copy of this file and rename it as
spring-security-saml2-sample2.warsuch that there are two webapps available. -
Deploy the two webapps in the Tomcat server.
Once you have configured all your applications, access them in separate tabs in your browser. When you logout from one application, it should log you out from all the configured applications.
Log out
-
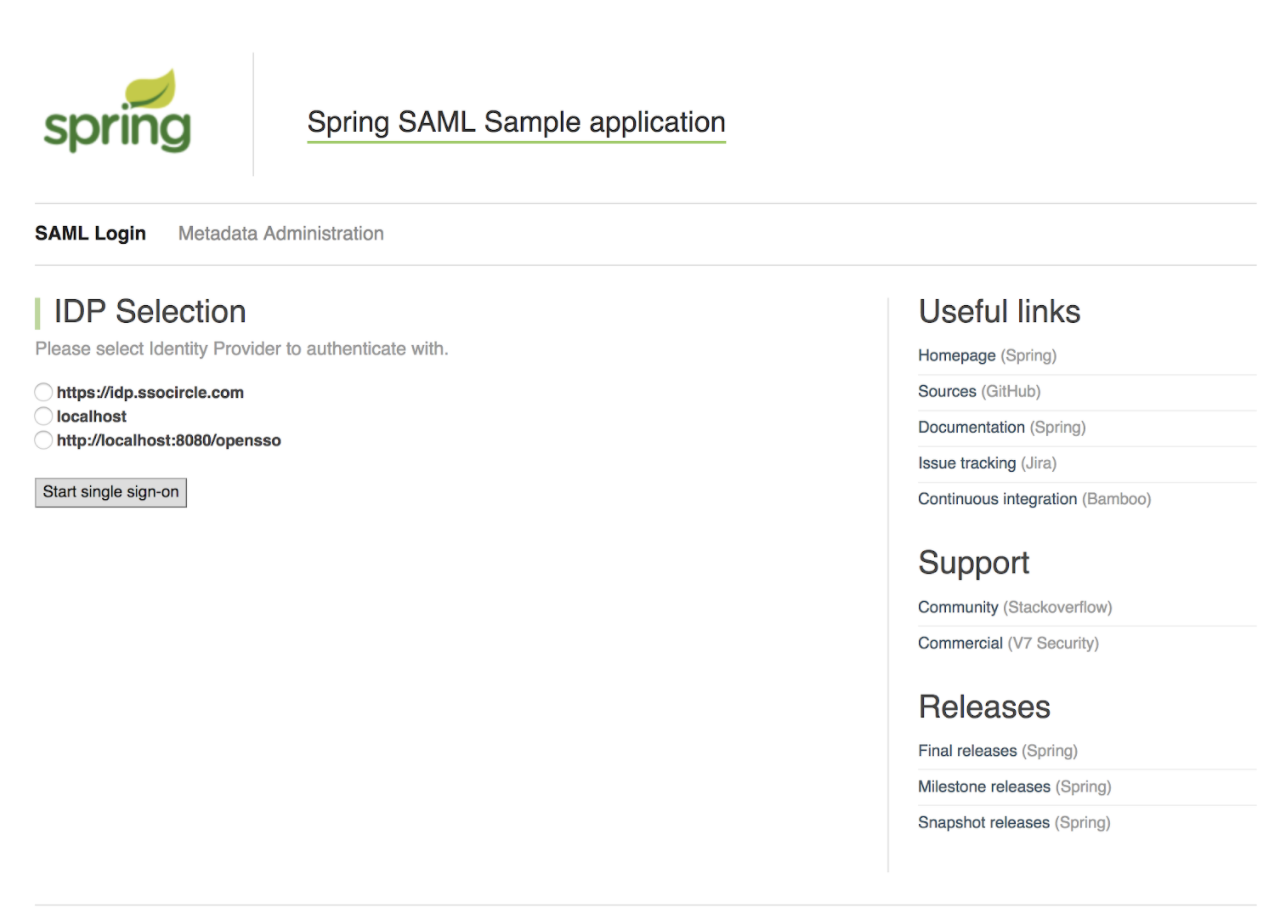
Access the URL of the first application,
http://localhost:8080/spring-security-saml2-sample. -
Select localhost and click on Start single sign-on.
-
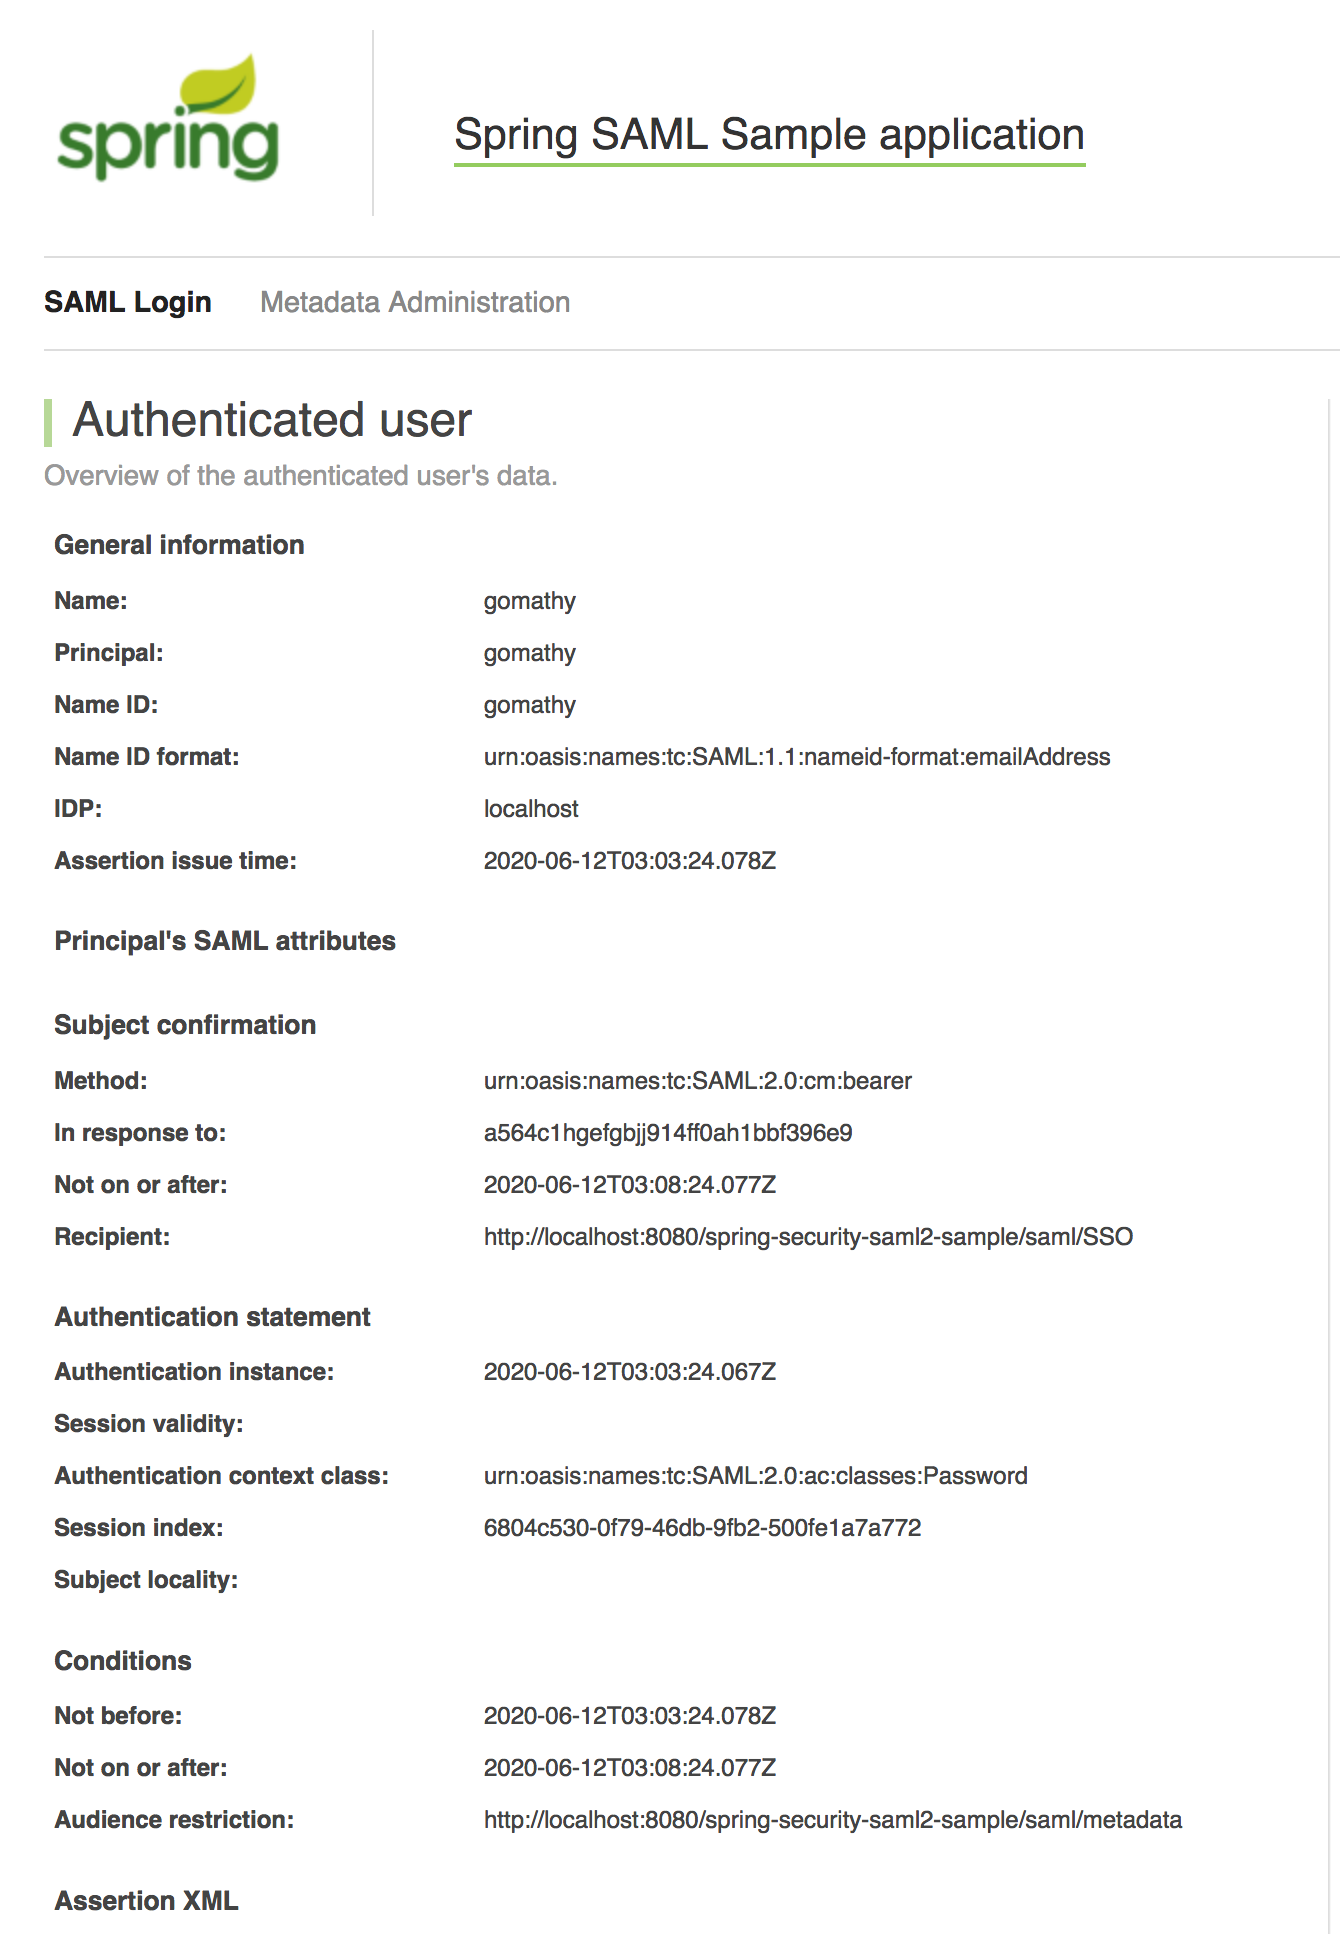
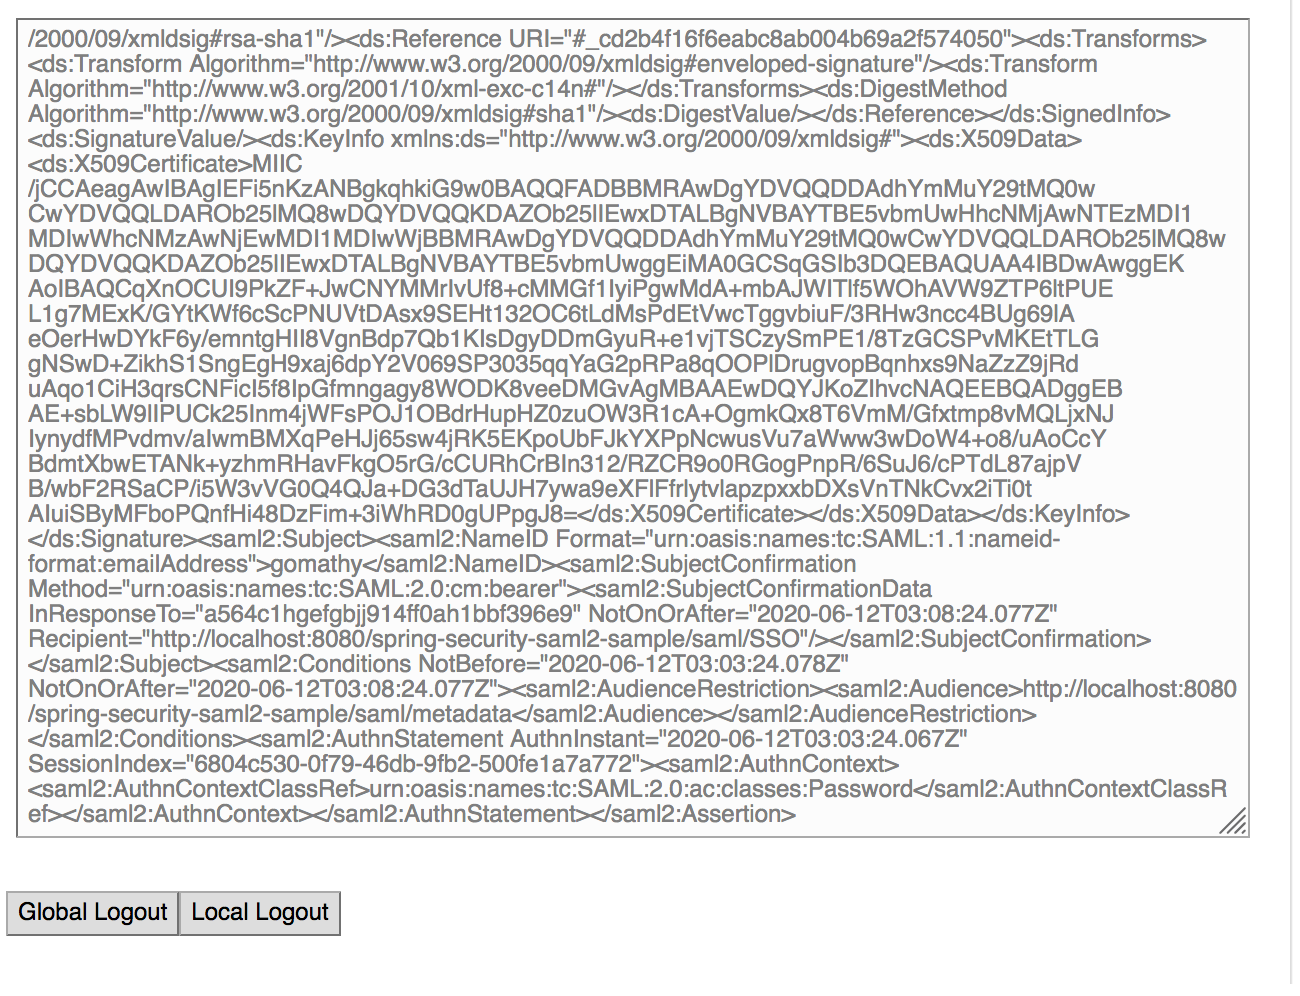
Log in as the admin. You will be directed to the page with authenticated user information.
-
Open a new tab on the browser and log into the second application,
http://localhost:8080/spring-security-saml2-sample2. -
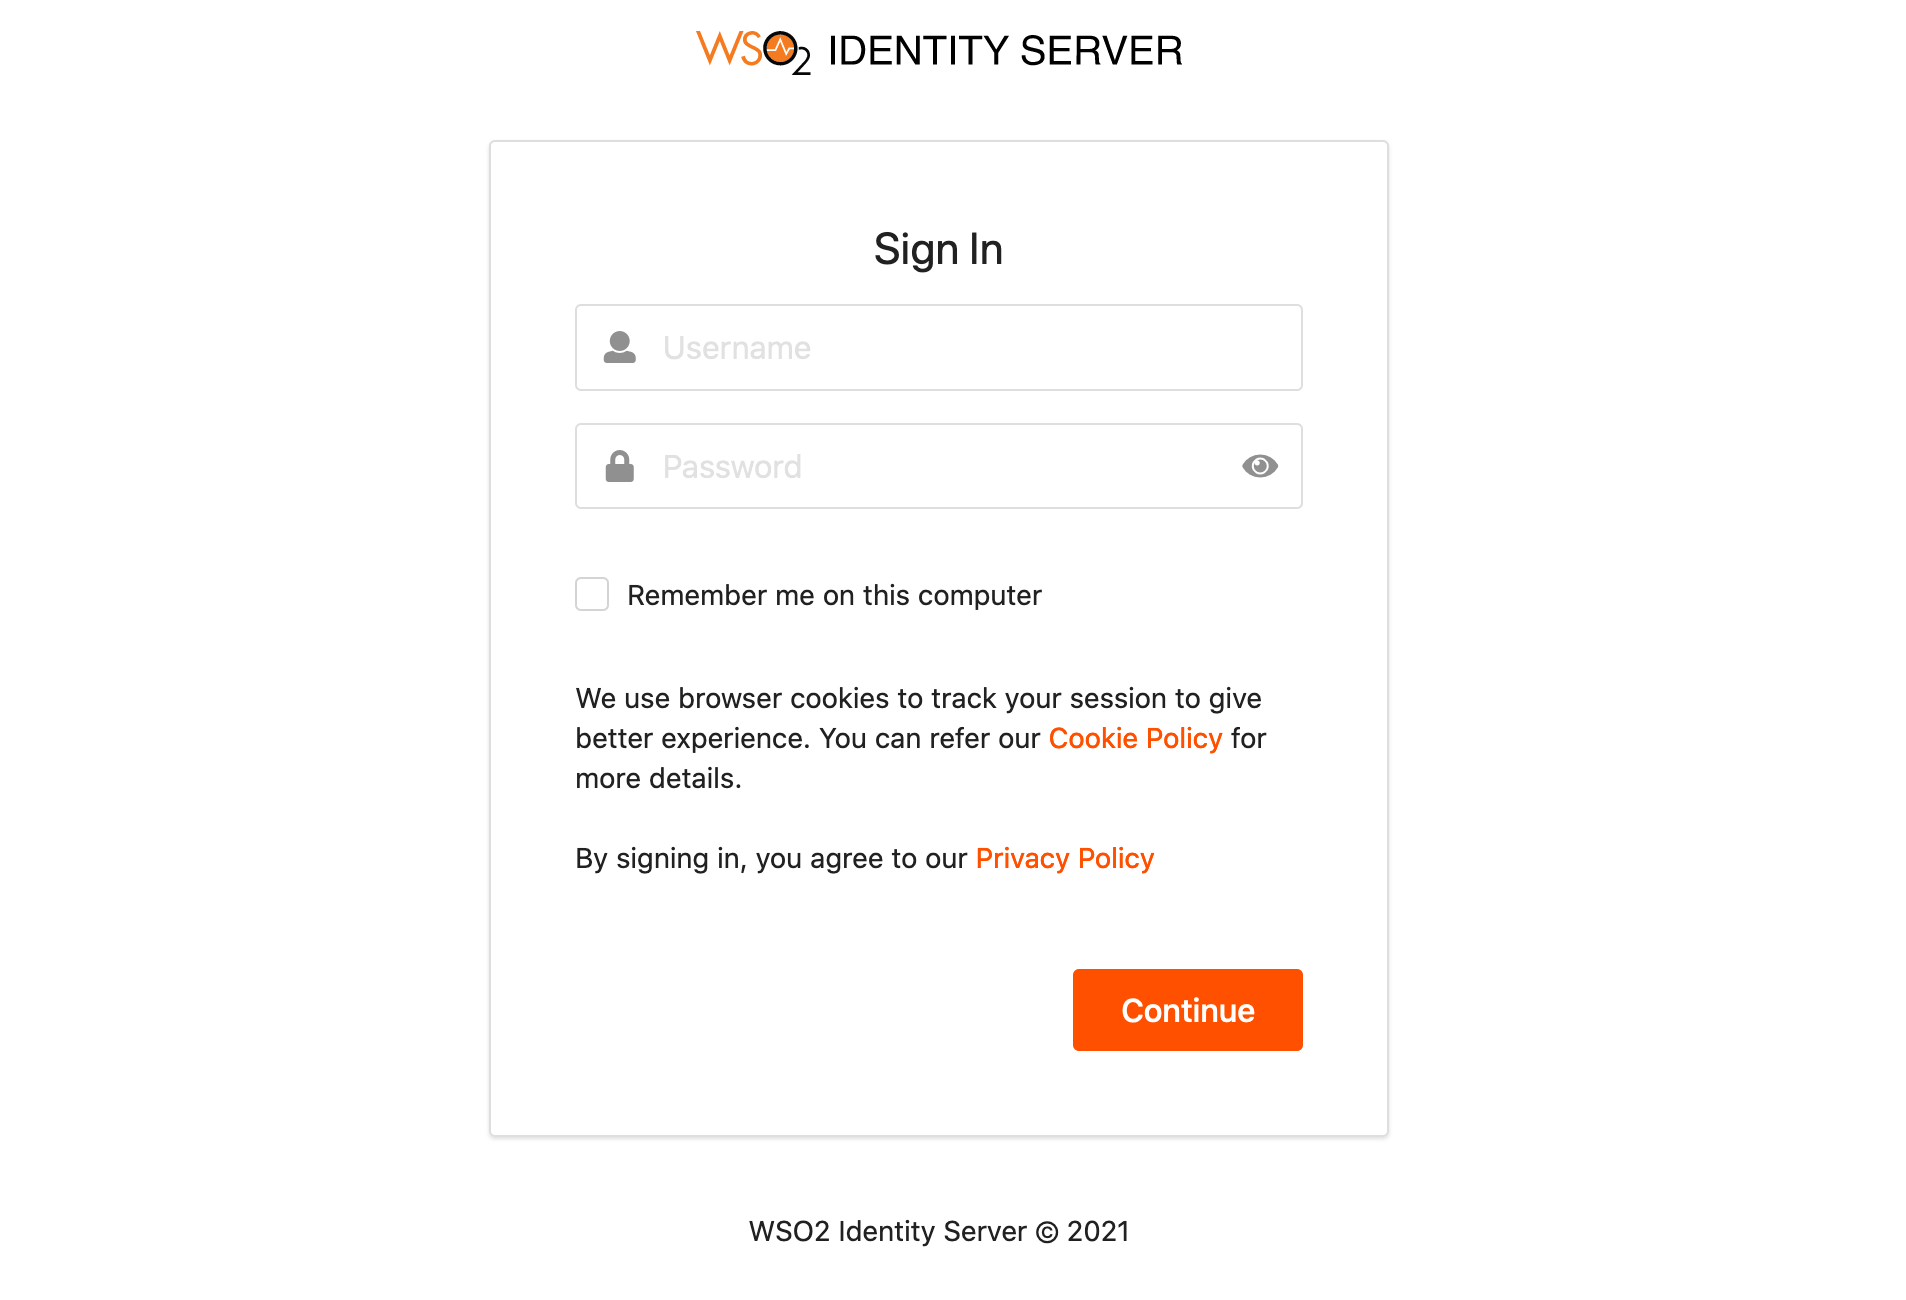
Similar to the first application, select localhost, click on Start single sign-on, and sign in as the admin.
-
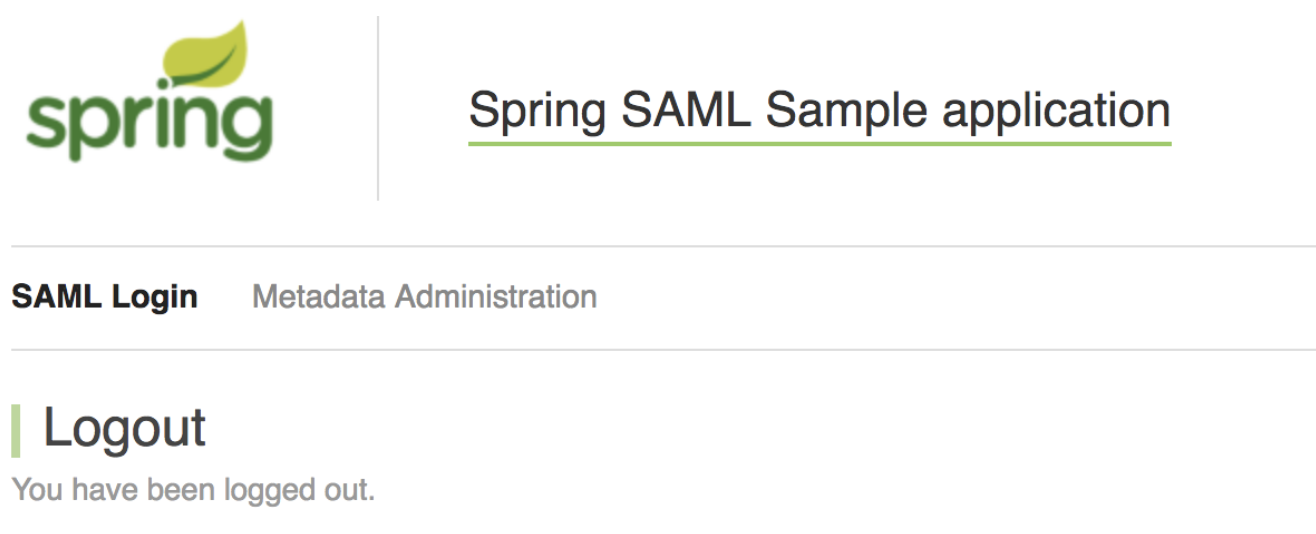
On any one of the applications click Global Logout.
-
You will be successfully logged out of both the applications.
Related topics